Remember about the scenario: I use the following architecture in my lab environment:

In this last part, I will create and configure the Hyper-V Cluster to use StarWind vSAN. Let’s start by installing the Hyper-V role on HYPV2 and HYPV3.
Open the iSCSI initiator service

Click Yes to start the service

Log on to the target to discover the targets. The IP Address of StarWind01 is 10.0.0.9 in my case. Click “Quick Connect …”

Click Refresh and the target will be listed:

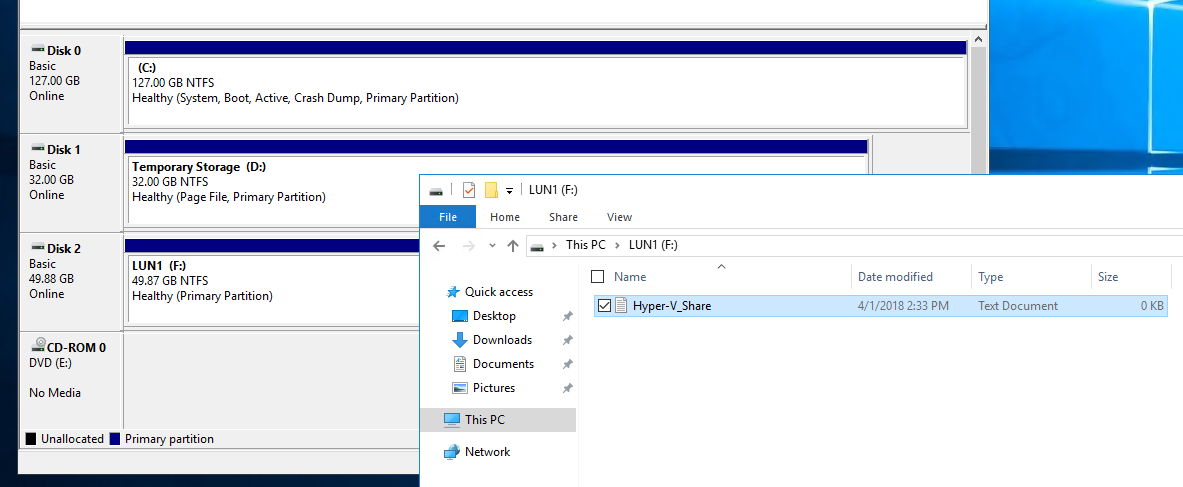
Let’s confirm by opening the disk management on HYPV2:
Let’s confirm on HYPV3 that I can browse the same target:

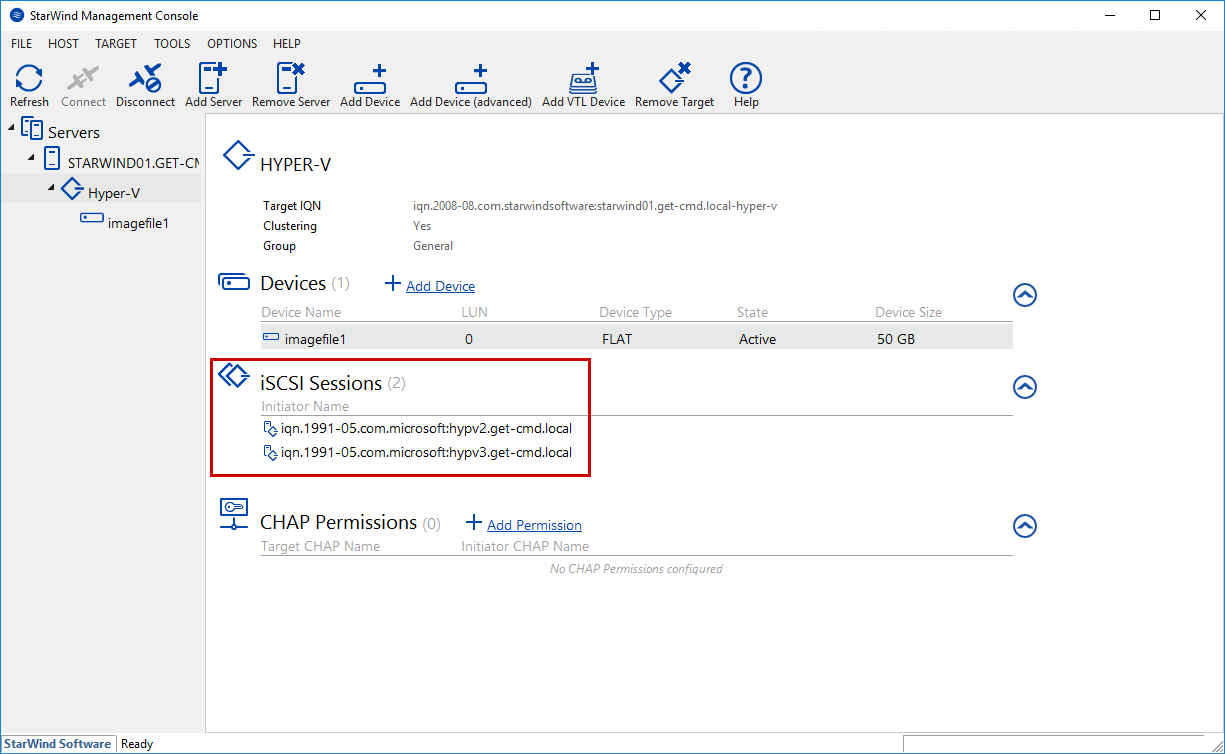
Open the StarWind vSAN console, and you will notice that both Hyper-V hosts are visible in the iSCSI Sessions section:
Now, I will create the Cluster. Add the Failover Clustering role on both Hyper-V hosts:

Launch the Failover Cluster Manager tool:

Validate the Cluster

Once the validation has been done, you can create the cluster

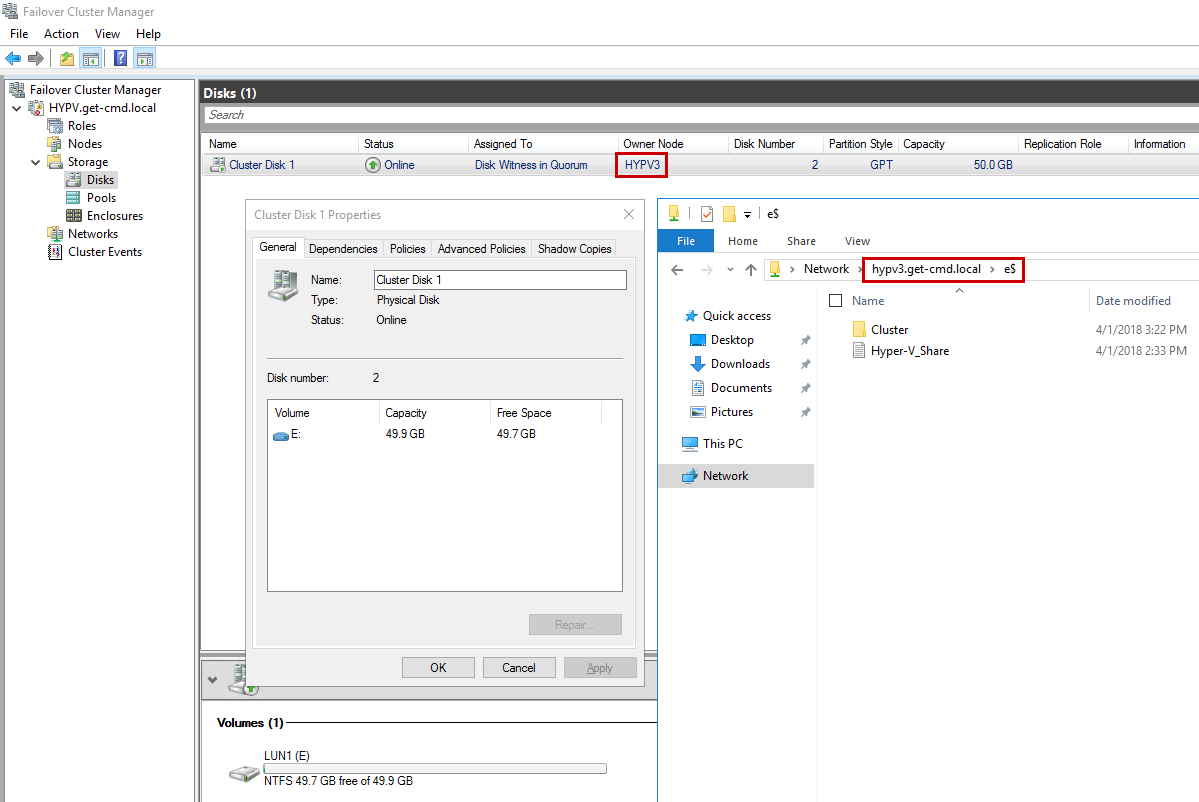
In the “disks” tab, I can confirm that my LUN is visible.
Conclusion
In this series, I described how to install and configure StarWind vSAN which is really a great software. It works very well, and thanks to this software, you can create very easily iSCSI targets. One of the advantage of StarWind vSAN is to use a Windows Server as an iSCSI portal. StarWind vSAN is very stable, without any bugs. My lab environment was based Windows Server 2016, but you also can use StarWind vSAN on Windows Server 2012 R2.
Thanks for reading! You can follow me on Twitter @PrigentNico