Remember about the scenario: I use the following architecture in my lab environment:

In the first part of this series, I installed StarWind vSAN on a dedicated Windows Server 2016. In this part, I will configure StarWind vSAN.
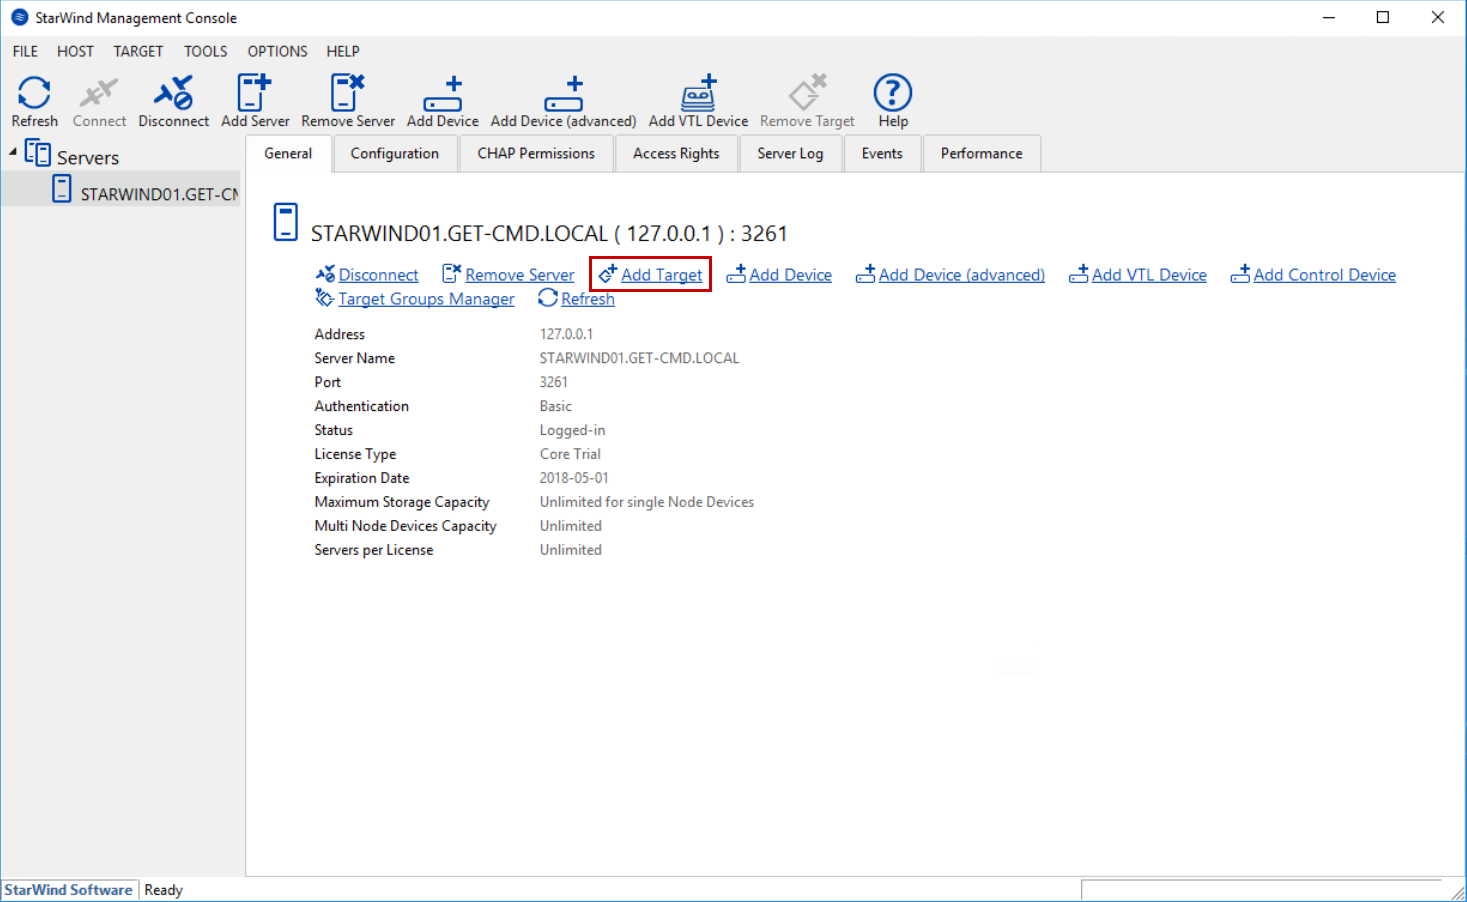
I will configure my first LUN. Click “Add Target”
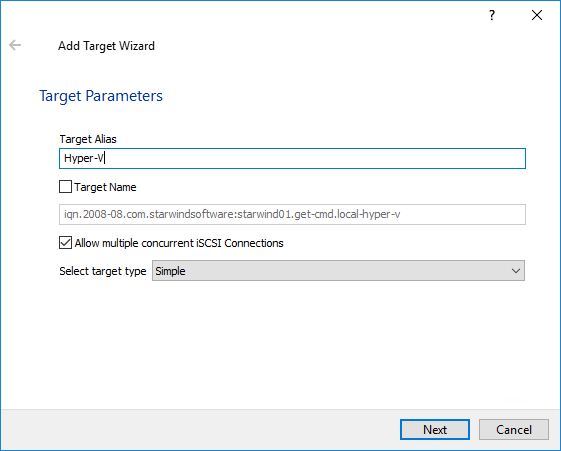
Type a Target Alias Name. Don’t forget to click “Allow multiple concurrent iSCSI connections” if you work in a Cluster environment
Click Create to create the target
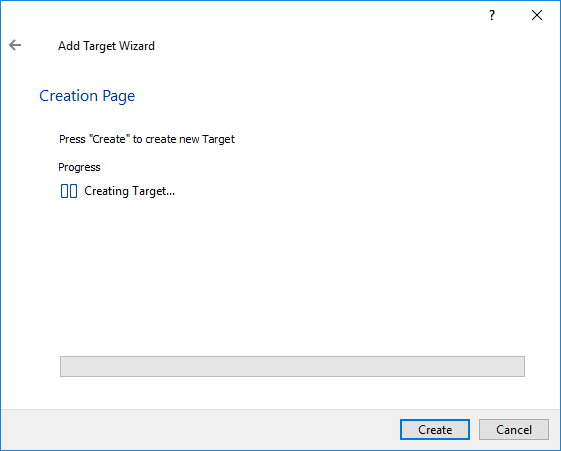
Wait a few seconds until the target is created
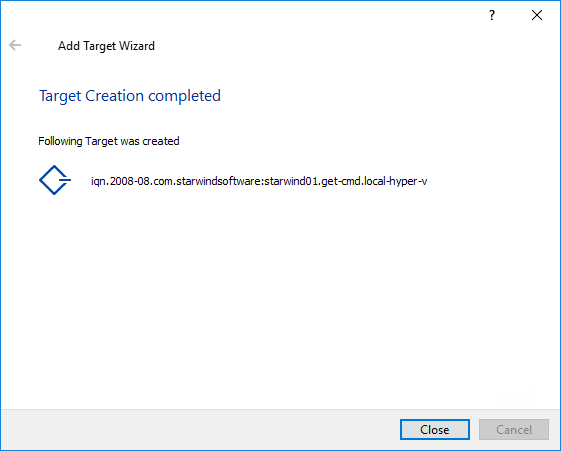
The iSCSI target is created, so we can create a device. Click “Add device”
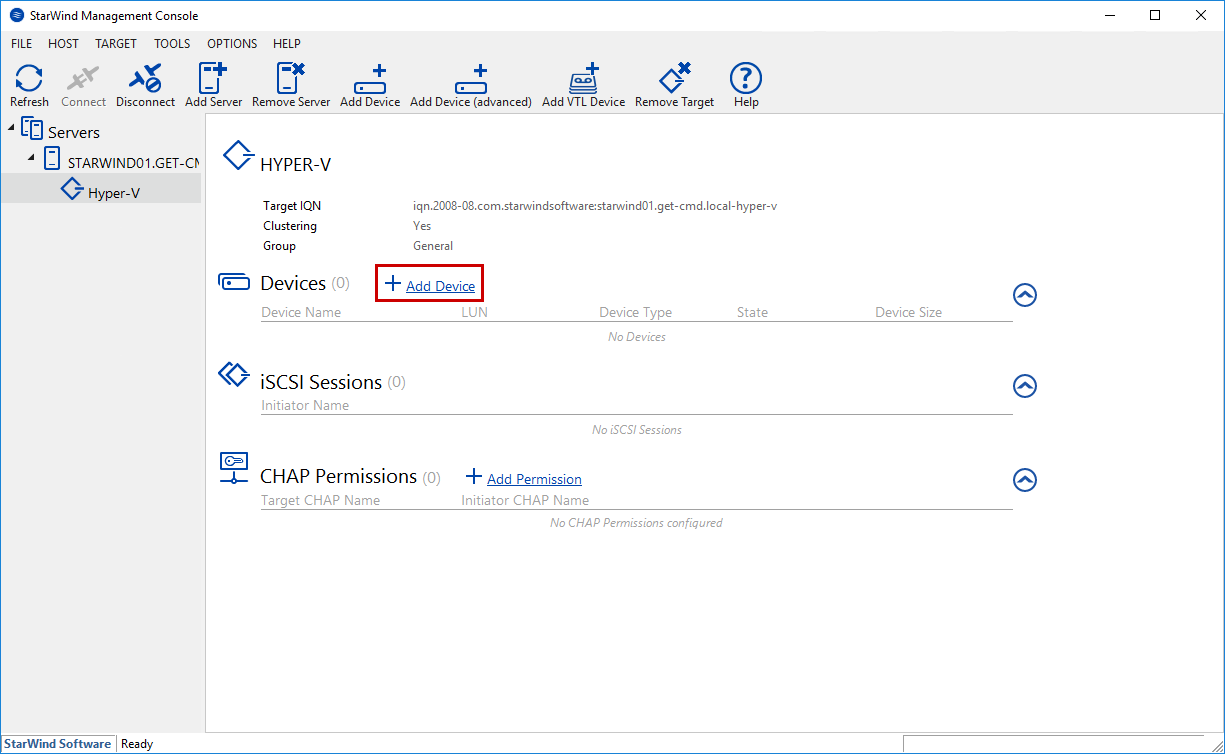
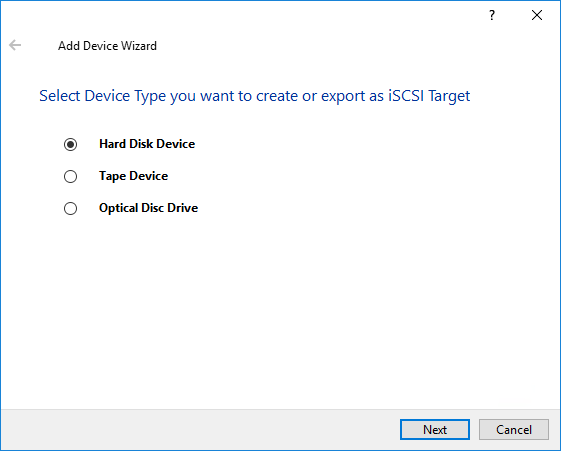
Select “Hard Disk Device”
Select the Disk Device Type. In my case, I select Virtual Disk:

Select the Virtual Disk Location
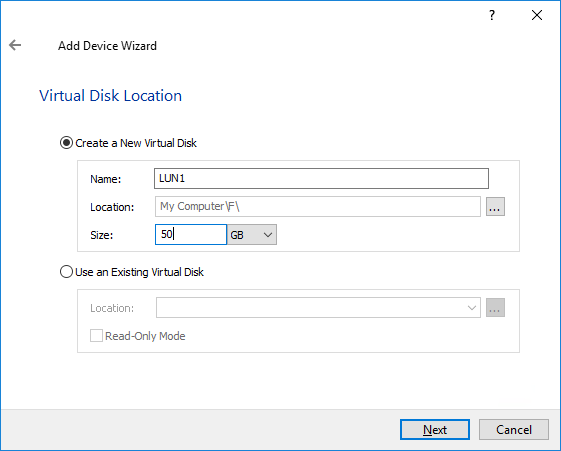
Select the Virtual Disk Options

Specify the Device RAM Cache parameters
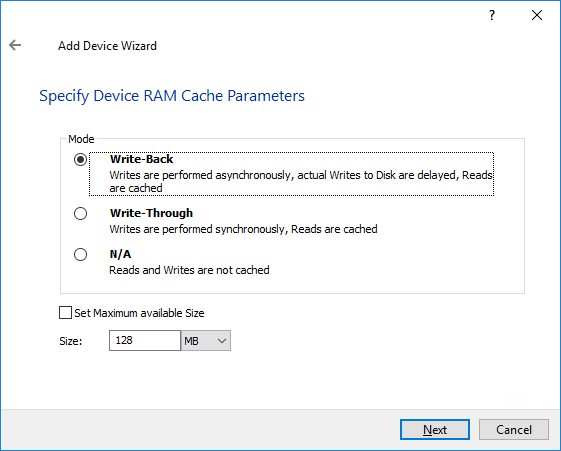
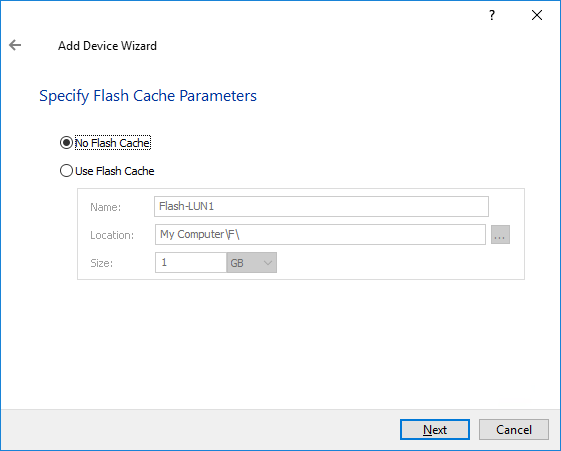
If you want, you can specify to use Flash Cache
Click Create to add new Device and attach it to the target previously created
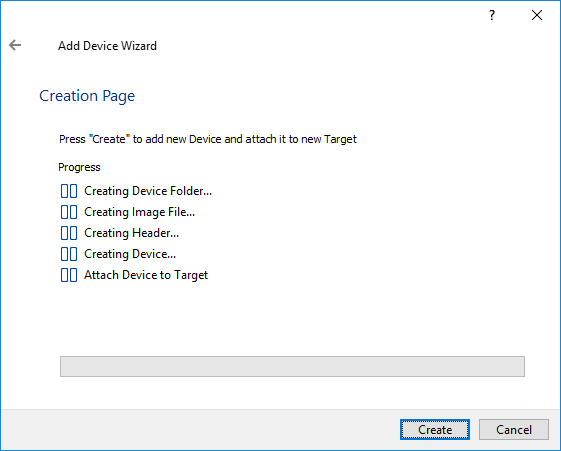
Wait a few seconds and the device is created

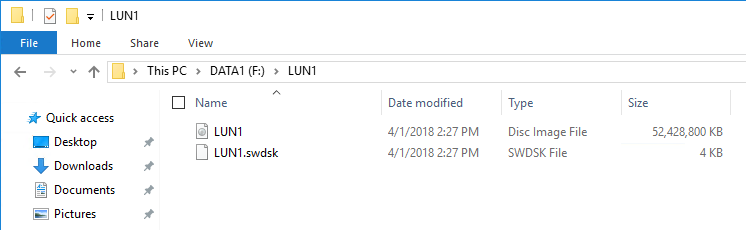
Open your disk and you can confirm that a Virtual Disk exists
That’s all!
Conclusion
In this part, we configured StarWind vSAN on a dedicated Windows Server 2016. In the next part, we will describe how to configure the Hyper-V Cluster to use StarWind vSAN.
Thanks for reading! You can follow me on Twitter @PrigentNico