Microsoft Azure offers reliable and high-performance cloud storage. By deploying Azure Storage on a QNAP NAS, you can create an all-in-one, high-performance VM backup appliance that combines backup software and hardware storage in a single device.
In 2016, Microsoft introduced Coool Storage in Azure: https://azure.microsoft.com/en-us/blog/introducing-azure-cool-storage/ a new way to archive your files in the cloud. The main goal is to store data that is rarely accessed. It means that you can use Cool Storage to reduce the cost of storage in Azure. More information here.
In this article, I will explain:
- How to create a Cool Storage Account
- How to install Azure Storage App on QNAP
- How to configure Azure Storage App
- How to backup your data from QNAP to Azure
Creating a Cool Storage Account
First, you must create an Azure Account and configure a cool storage container. Let’s see how to perform this task by reading this article.
How to install Azure Storage App on QNAP?
Open the QNAP web interface, and open the AppCenter. Then, go to the “Backup/Sync” section and install “Azure Storage” App:

Wait a few seconds

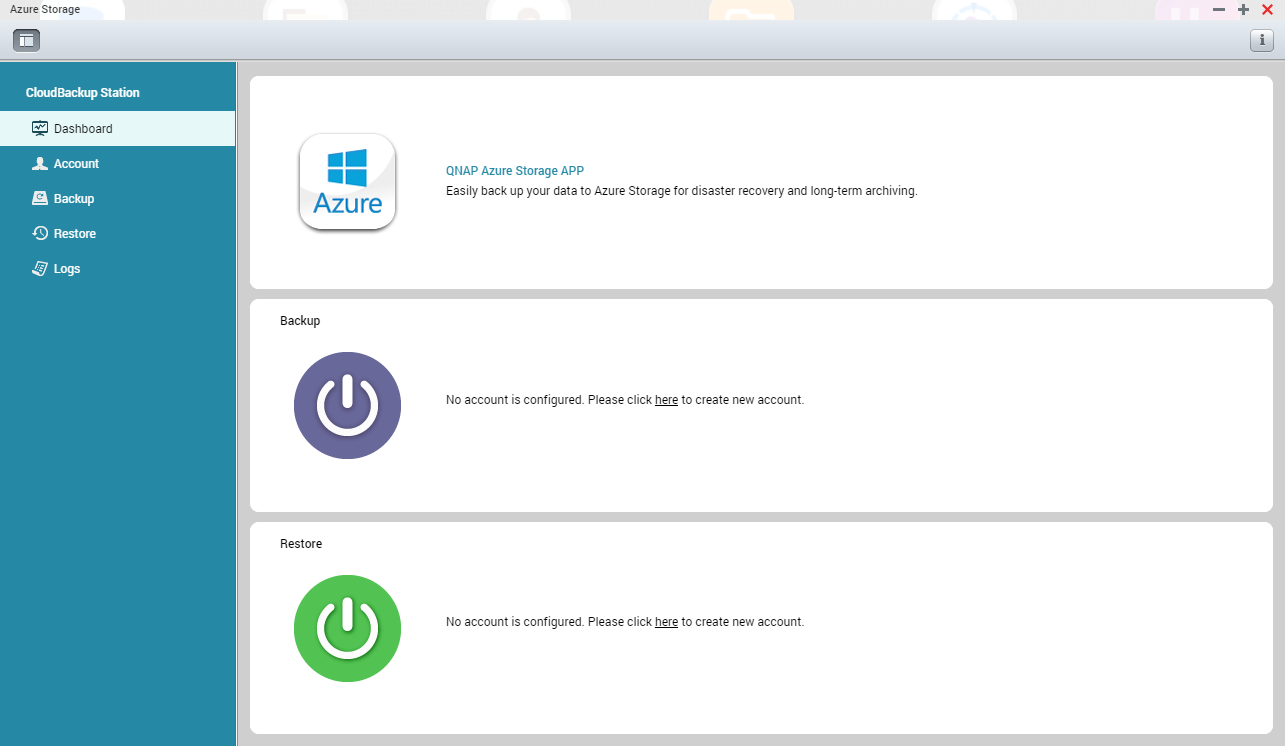
Once the installation is completed, open the Azure Storage App and click “Backup” to configure your Azure account:
Enter your Azure Storage credentials and select “Enable secure connection (SSL)”:

Then you can create your first backup job and select the source folders you want to backup. Here, I select “Multimedia”

Next step: Configure the schedule

Next step: Configure the backup policy

Next step: Configure the filters

Next step: Select your Azure Storage Account

Run the backup job and wait until the job is completed.

Open the Azure portal, and confirm that your data are stored inside the container:

Thanks for reading! You can follow me on Twitter @PrigentNico