
Deploying Windows Service Management Automation (PART 2)
Integrating Windows Service Management Automation (PART 3)
Introduction
What is Windows Service Management Automation (SMA)?
Before describing “SMA”, you need to know what is Windows Azure Pack (WAP). The goal of Windows Azure Pack is to create your private cloud in your own Datacenter using Hyper-V and Virtual Machine Manager (VMM). Users, DevOps or Syadmins can use a similar web portal as Azure to deploy VMs on Demand. If you don’t want (or you can’t) to push your datas in Microsoft Azure, use the WAP!
Below is one of my favorite schema about WAP architecture:

WAP use the Service Provider Framework (SPF) for interfacing the Service Management API to VMM.
WAP includes:
- 1 admin portal
- 1 self-service portal
- Active Directory Authentication with ADFS
Below is a screenshot from the self-service portal:

What is Service Management Automation?
SMA is integrated into Admin Azure Pack Portal and allows you to automate some tasks such as: Deploying VMs, Creating Checkpoint, Monitoring your deployments, … SMA use runbooks based on PowerShell Workflow.
Below is a SMA screenshot from admin portal:

More informations about SMA and WAP: https://technet.microsoft.com/en-us/library/dn469260(v=sc.12).aspx
Be careful: Azure Pack is not Azure Stack! Another article will be published about Azure Stack.
Deployment Part1
In brief:
- SMA is an Orchestrator component. (So you must have the orchestrator ISO)
- SMA is integrated into the WAP Admin portal
- PowerShell can be used to manage SMA
In this blog post, we will install SMA. Assuming you have the following installed & configured components:
- Orchestrator 2012 R2
- Windows Azure Pack
Let’s start!
First, run the orchestrator setup and select “Web Services”. The Service Management Automation web service is a REST based service that exposes Service Management resources and relationships through Open Data Protocol (OData). You can access the Web Services using Windows PowerShell.
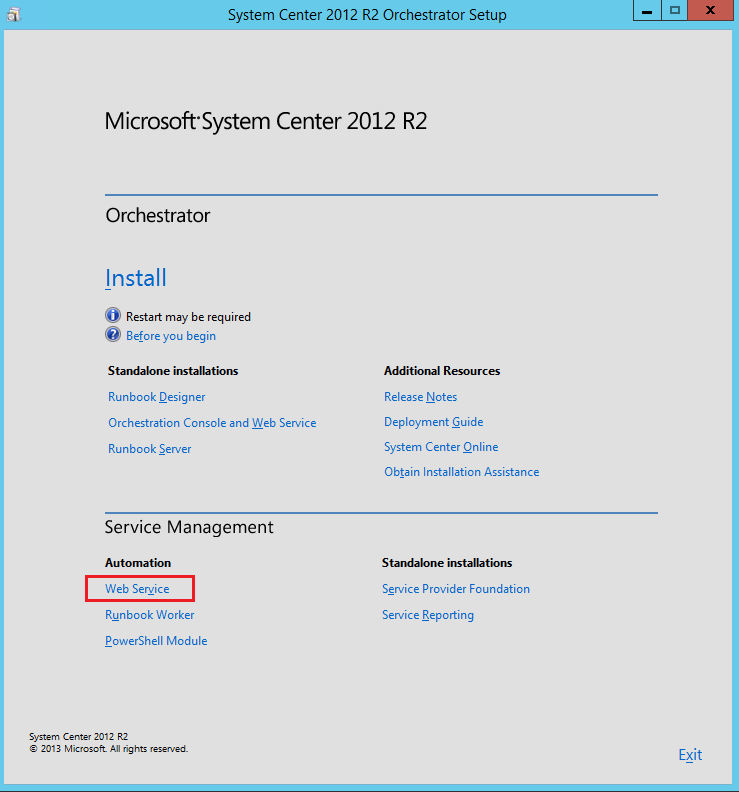
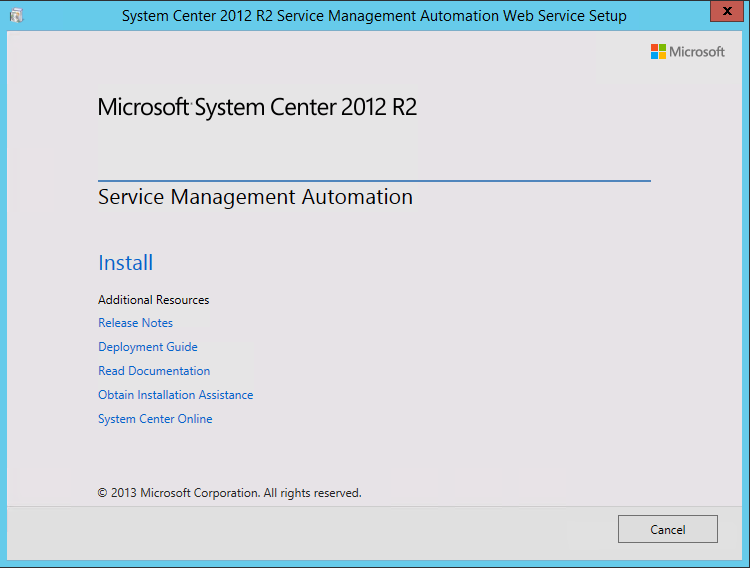
Click “Install”
Enter your Name, Organization Name and the Product Key:

Read & Accept the license

You will probably get the following errors. So go to the next step:

Go to Server Manager and install “Basic Authentication” and “URL Authorization”:

Re-run the prerequisites:

Specify your database server name and the database name:

Configure access rights:

Choose the port number and use a certificate (drop down the list to select your certificate)

Specify the installation folder:

Next, next and finish

Web services are installed. You can check if the DB is created:

Open a web browser and type the following URL: https://yourserver:9090/00000000-0000-0000-0000-000000000000/

Next part will describe how to install Runbook Worker, the PowerShell Module and how to integrate SMA into Admin Azure Portal.
Thanks for reading! You can follow me on Twitter @PrigentNico.