Before updating your SCCM infrastructure, please read the following checklist on TechNet Website: https://technet.microsoft.com/library/mt627853.aspx#bkmk_checklist
Downloading and installing SCCM 1610 is done entirely from the console. There’s no download link, the update will appear in your console once the Service Connection Point is synchronized. In this article, I will upgrade my SCCM 1606 to SCCM 1610.
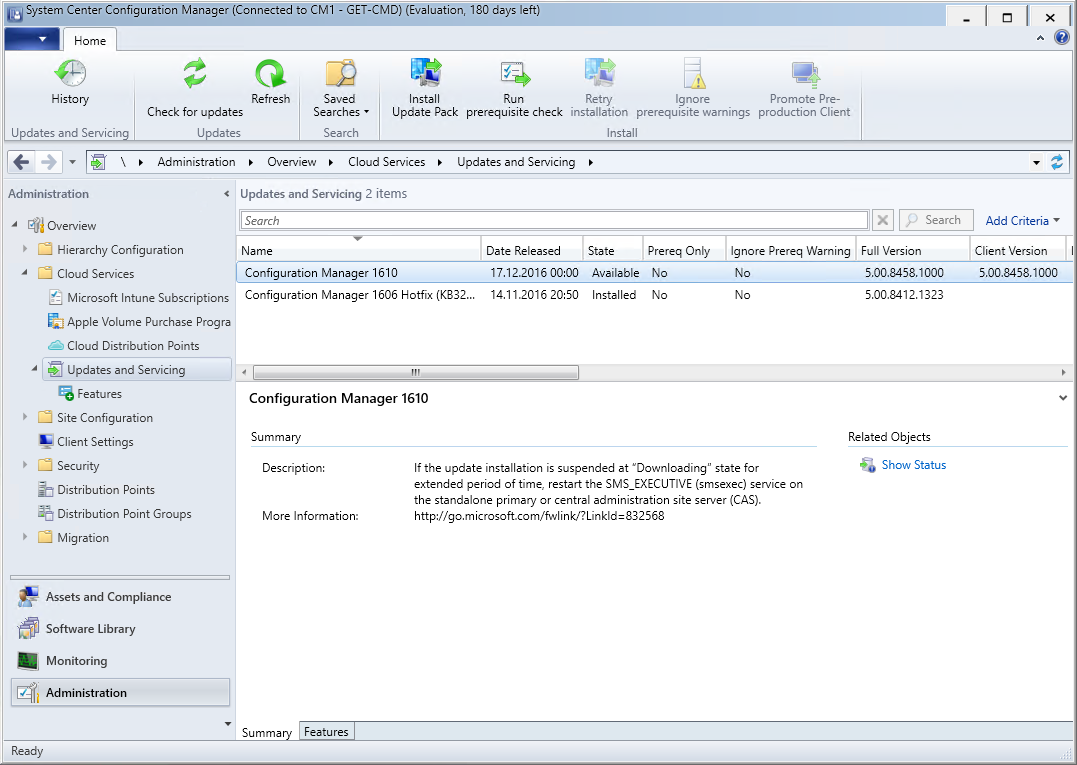
Open the SCCM console. Go to:
- Administration
- Cloud Services
- Updates and Servicing
Right click the Configuration Manager update and select Run prerequisite check.
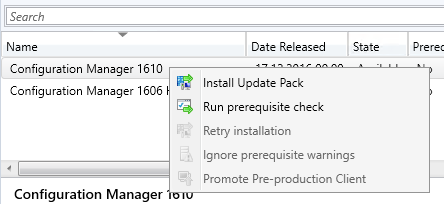
Wait a moment… It can take up to 15 minutes!

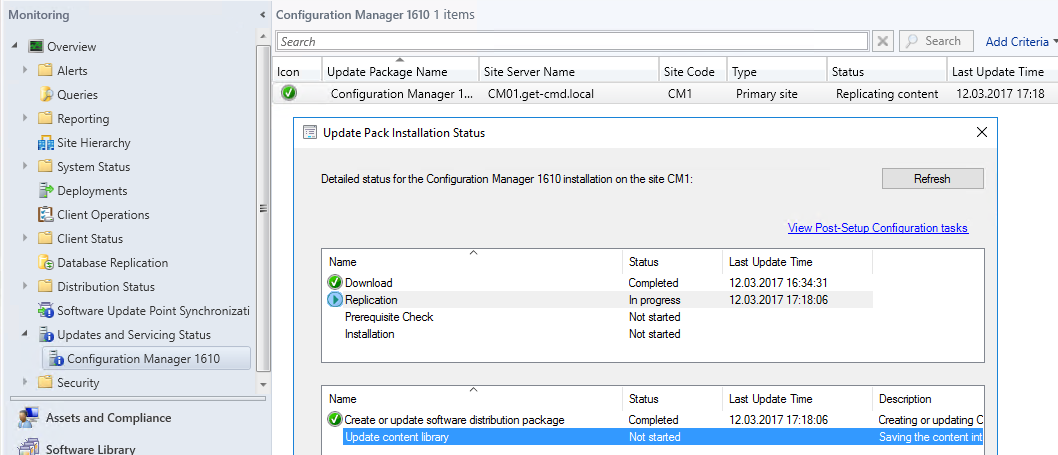
You can check the status from the “Monitoring” section:
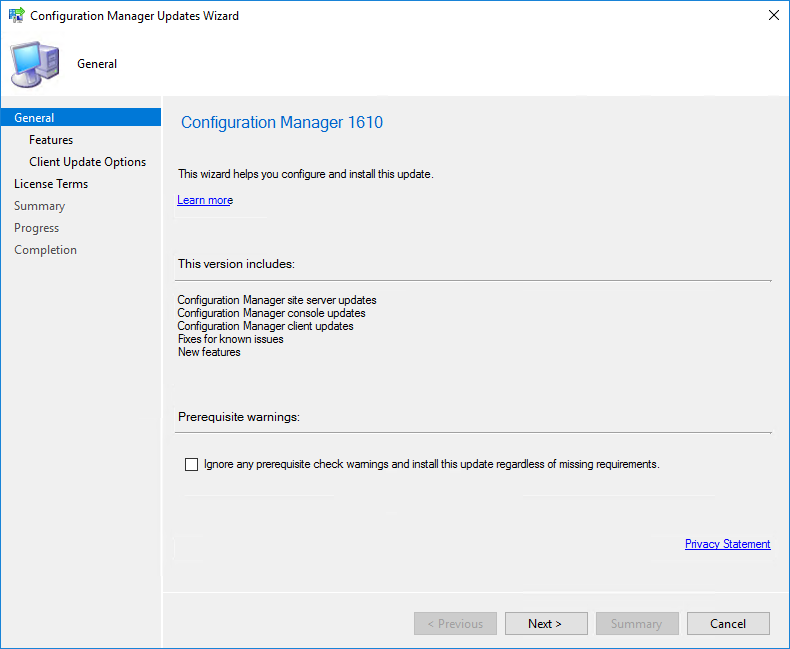
When it’s done, right click Configuration Manager 1610 update and click Install Update Pack.
On the General tab, click Next
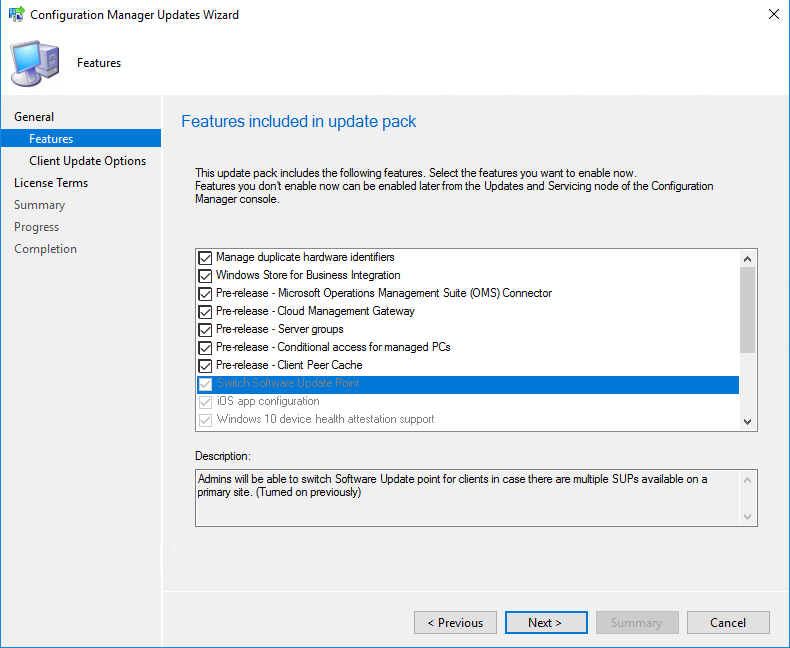
On the Features tab, select the features you want to update. If some features are greyed out, you must give consent to install pre-release:
- Administration
- Site Configuration
- Sites
- Hierarchy settings
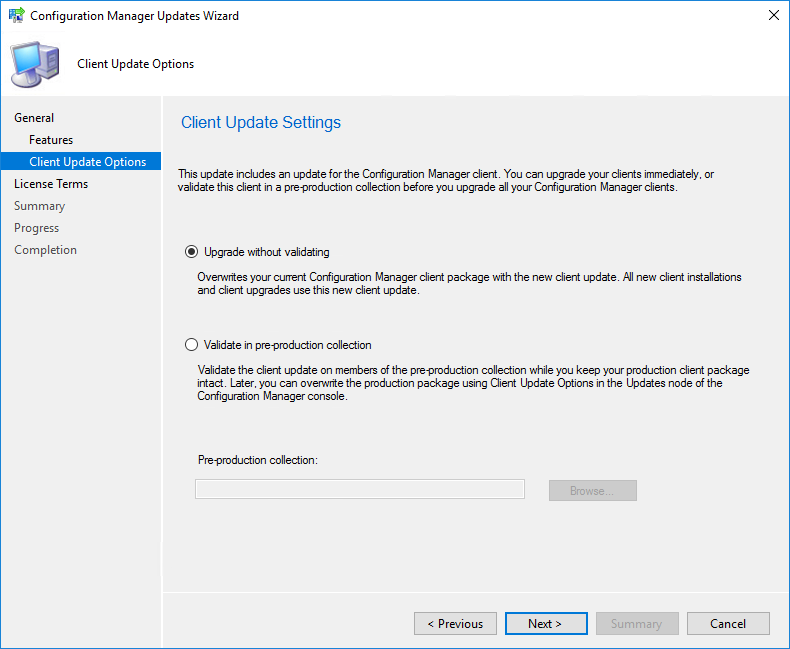
On the Client Update Settings tab, select option for your client update
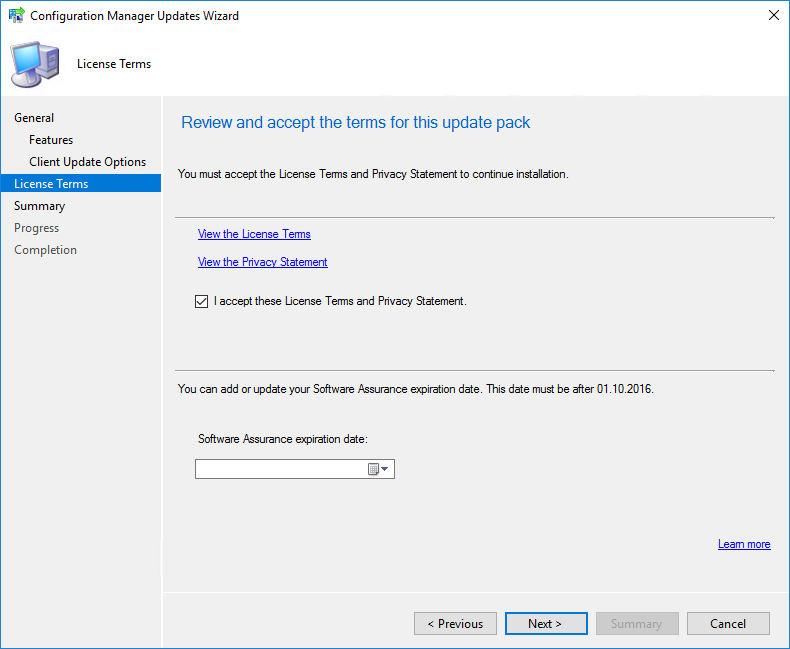
On the License Terms tab, accept the licence terms and click Next
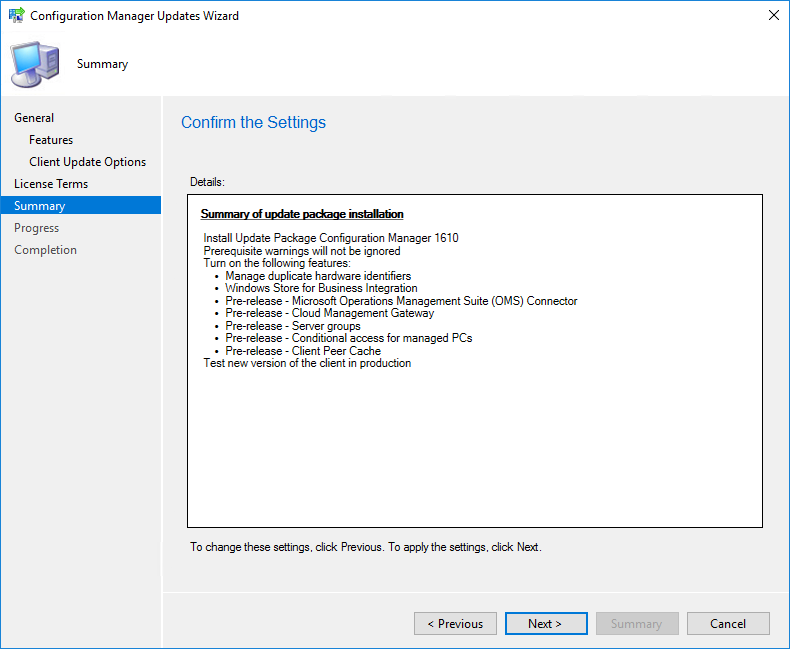
On the Summary tab, review your choices and click Next
On the Completion tab, close the wizard.
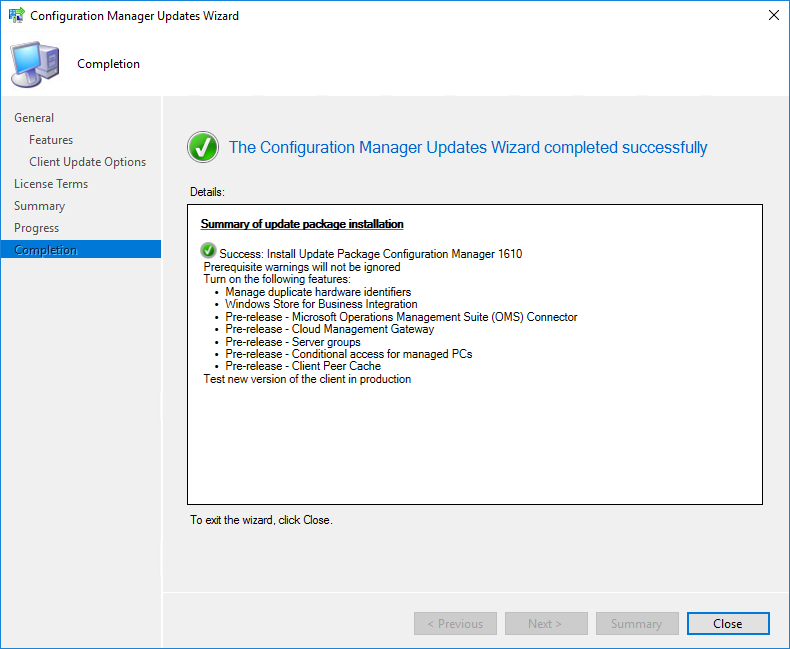
At this step, SCCM 1610 is not yet installed. Now, SCCM will start the installation process!
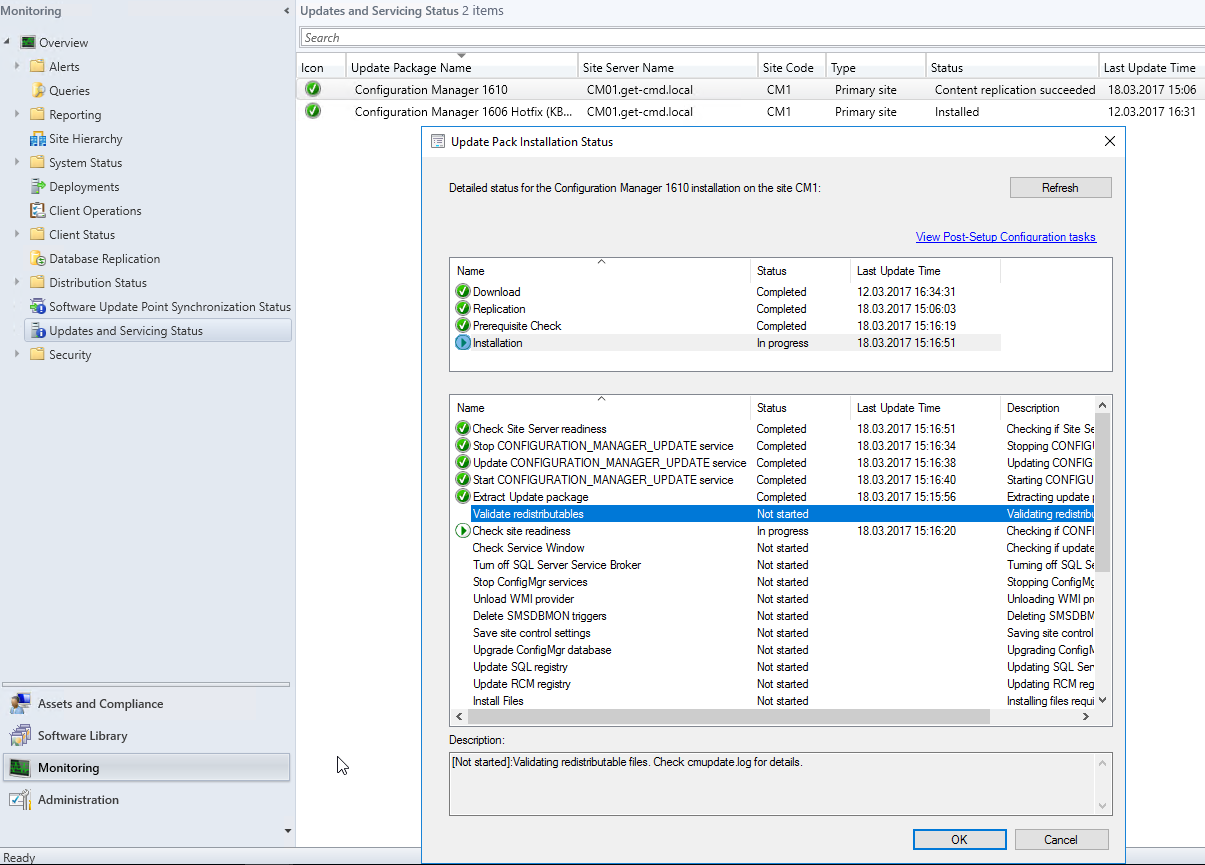
You can monitor installation process by going to:
- Monitoring
- Updates and Servicing Status
Please note that at console opening, if you are not running the latest version, you will receive a warning and the update will start automatically.
Congrats, SCCM CB 1610 is installed!
Thanks for reading! You can follow me on Twitter @PrigentNico